
Thawgust | Easy Freezer Meals for Busy Families
Thawgust is BACK!! I’ll be updating this post every week with a new freezer-friendly recipe to prep now and enjoy later!
In the last year, we’ve done Crocktober, One Pan Jan, and Mayrinade, but Thawgust might be the most practical of them all. All month long, Lizz and I are filling our freezers with go-to favorites (don’t worry, we’re skipping the poppyseed chicken this year 😉) so we’re ready when the holiday season hits.
How to join us: meal prep one recipe with us each week and tag me @the_car_mom so I can see what’s in your freezer!
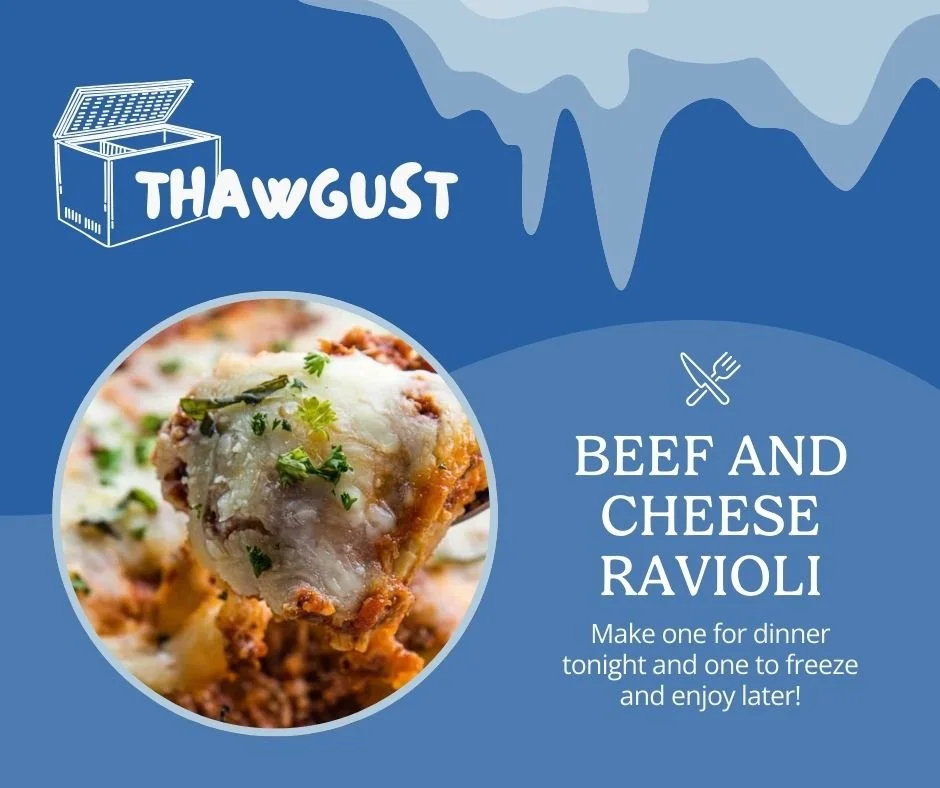
Thawgust Recipe #4: Beef and Cheese Ravioli
This recipe was adapted from: Must Love Home
Ingredients You’ll Need
24 ounces cheese ravioli 2 (12-ounce) bags, fresh or frozen
1 pound lean ground beef
2 cloves minced garlic
1 tsp Italian seasoning
1 tsp onion powder
32 ounces marinara sauce
2 cups mozzarella cheese, divided
1/2 cup grated parmesan cheese
1 tbsp chopped fresh parsley optional
Instructions
Grease or spray with cooking spray a 9 x 13 or similar size foil pan or freezer safe ceramic baker.
In a large skillet over medium-high heat, brown ground beef, breaking into crumbles with spoon. Drain fat as needed. To the beef, add the garlic, Italian seasoning, onion powder and marinara sauce. Stir to combine. Reduce heat to medium and continue to cook 5 minutes until heated through and flavors are blended.
Spread 1/3 of meat mixture in the bottom of prepared pan. Top with 1/2 of the raviolis, laying out in a single layer. Top with another 1/3 of the meat mixture and one-half each of the mozzarella and parmesan cheeses. Repeat the layers of ravioli, then meat sauce, ending with the cheeses and parsley.
Cover pan with foil, sealing edges then wrap completely in plastic wrap. Freeze for up to 3 months.
Thawing and Baking: Thaw ravioli in covered pan overnight in the refrigerator.
Preheat oven to 350°F. Remove plastic wrap from fil pan, leaving foil top on. Bake on center rack of the oven for 30 minutes. Remove the foil top and bake for 10 minutes more until casserole is bubbling around the edges. Serve warm.
To Bake from Frozen: Remove plastic and place foil covered pan in a 350° F oven and bake for 1-1/2 to 2 hours, until heated through. Remove foil and bake 20 to 30 minutes longer until cheese is melted and sauce is bubbling around the edges. Garnish with fresh parsley before serving.
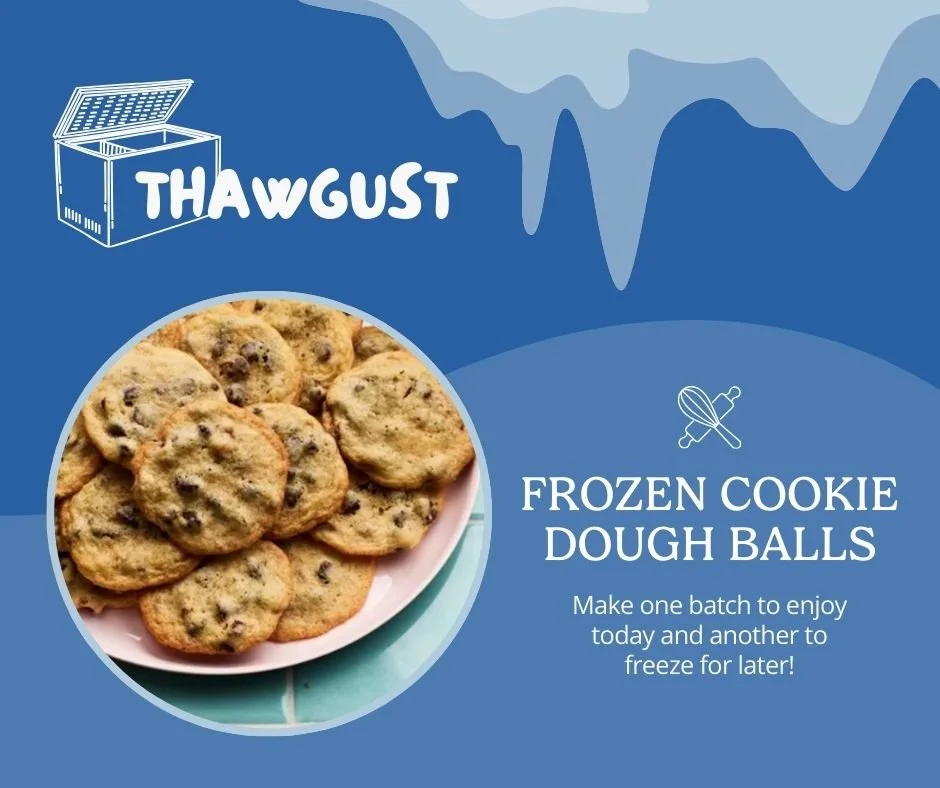
Thawgust Recipe #3 : Frozen Cookie Dough Balls
This recipe is from AllRecipes.
Ingredients You’ll Need
2 ¼ cups all-purpose flour
1 teaspoon baking soda
1 teaspoon salt
1 cup butter, softened
¾ cup white sugar
¾ cup packed brown sugar
1 teaspoon vanilla extract
2 large eggs
2 cups semisweet chocolate chips (such as Nestlé Toll House)
1 cup chopped nuts
Instructions
Gather all ingredients and preheat the oven to 375 degrees F (190 degrees C).
Combine flour, baking soda and salt in small bowl.
Beat butter, white sugar, brown sugar and vanilla in a large mixing bowl until creamy.
Add eggs, one at a time, beating well after each addition.
Gradually beat in flour mixture. Stir in chocolate morsels and nuts.
Drop by rounded tablespoon onto ungreased baking sheets.
Bake in the preheated oven until golden brown, 9 to 11 minutes, switching racks halfway through.
Cool on the baking sheets for 2 minutes, then transfer to wire racks to cool completely.
Serve and enjoy!
Here’s how I make it my own: I freeze cookie dough balls in an airtight container or freezer bag for up to 2–3 months to keep that soft middle and chewy edge just right. Before baking, I let them firm up for 1–2 hours (or overnight if I’m feeling on top of things). I usually scoop 1 to 1½ tablespoons for the classic cookie vibe, but if I’m in a bakery-style mood, I go bigger and just add a couple extra minutes to the bake time. That’s what works for me—but this recipe is totally customizable, so have fun with it!
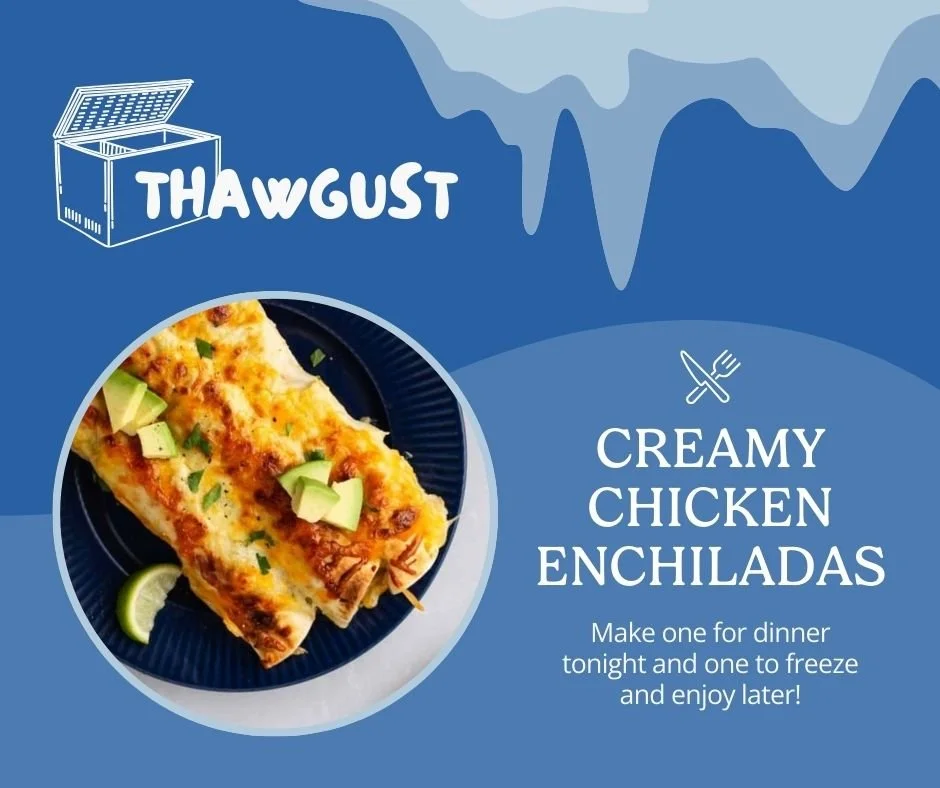
Thawgust Recipe #2: Creamy Chicken Enchiladas
This recipe is from our favorite — Naptime Kitchen!
Ingredients You’ll Need
2 teaspoons cumin
1 teaspoon kosher salt, divided
1/2 teaspoon freshly ground black pepper
4 chicken breasts
16 ounces green enchilada sauce, divided
1-2 tablespoons olive oil
1 onion, thinly sliced
2 medium red bell peppers, thinly sliced (you can sub yellow or orange)
24 ounces salsa verde
2 cups sour cream, divided
1 (15-ounce) can corn, drained
1 (15-ounce) can black beans, drained and rinsed
18-20 medium (8- to 10-inch) flour tortillas
2 cups shredded Mexican cheese
Optional toppings: avocado, cilantro, guacamole, etc.
Instructions
To a small bowl, add cumin, 1/2 teaspoon salt, and black pepper. Stir to combine.
Season chicken breasts with cumin mixture. Add the chicken to the crockpot with 8 ounces of enchilada sauce and cook on high for 4 hours or low for 6 hours.
While the chicken cooks, sauté your onion and peppers and make your salsa verde sauce. For the onions and peppers, heat the olive oil in a sauté pan over medium heat and sauté the onions and peppers until soft. Set aside.
For the salsa verde sauce, combine sour cream, salsa verde, and salt, and blend. (This part was a total experiment. It is delicious and really puts the creamy in the recipe title).
Once the chicken is cooked, turn off the crockpot and remove the chicken breasts. Shred the chicken with two forks.
To the crock pot, add sour cream and remaining enchilada sauce and whisk to combine
Return the shredded chicken back to the crockpot, along with the corn, black beans, and sautéed onions and peppers. Stir to combine.
Assemble the enchiladas. Pour a small amount of salsa verde sauce into the bottom of each container you are using. Just enough to coat the bottom.
Fill each tortilla with a scoop of the chicken filling (approximately 1/2 cup per enchilada, but you don’t really need to measure) then line them up one by one, side by side in your dish(es), seam-side down so they don’t unfold. Get them nice and close together.
Pour more of the sauce over the top of the enchiladas but not too much – just enough to lightly cover the tops of the enchiladas.
Cover with shredded cheese.
Repeat steps 8-11 until you run out of tortillas or filling. If you have extra sauce you can toss it, or store it in a jar for another meal. I think the extra sauce would be delicious over a sweet potato.
Cover the baking dish with foil and bake at 350ºF for 30 minutes. Remove foil and bake another 10 minutes so the cheese can get nice and bubbly.
To Freeze: Once the enchiladas have cooled, I cover each container with a layer of plastic wrap (helps fight off freezer burn), then a layer of foil. I always label them—and make a note to remove the plastic wrap before baking so I don’t forget.
To Bake From Frozen: When it’s time to eat, you can thaw them in the fridge overnight and bake as usual, or pop them straight in the oven from frozen—just add about 20–30 extra minutes to the covered cooking time.
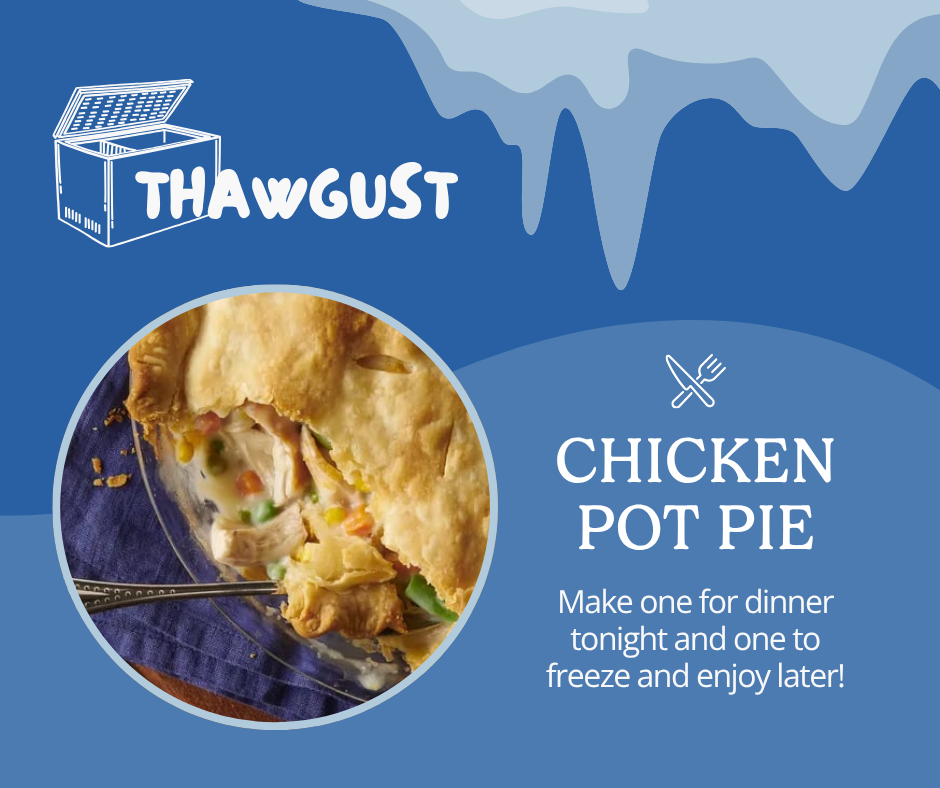
Thawgust Recipe #1: Chicken Pot Pie
This week’s recipe is a special one—it's the dinner I hope my kids ask for when they come home from college and want a home-cooked meal. It’s that comforting and that good!!
This recipe was adapted from Half Baked Harvest in her Super Simple cookbook.
Ingredients You’ll Need
1 yellow onion
4 Tblsp butter
Sage
Thyme
Garlic
⅓ cup of flour
1 cup of milk
3 cups of chicken broth
1 bag of frozen peas and carrots
2 cups cooked chicken
Instructions:
To a cast iron skillet add one yellow onion, butter, sage, thyme and garlic.
Once cooked down, add ⅓ cup of flour and whisk until golden (1-2 mins)
Then slowly add in 1 cup of milk and 3 cups of chicken broth. Let simmer about 12-15 mins.
Stir frozen peas and carrots.
Stir in cooked chicken.
Making this tonight? Continue with step 7! If freezing for later, continue to FREEZE instructions.
Top with biscuits, pie crust or puff pastry. Put in oven at 375 degrees until golden brown which is usually about 30-40 minutes.
To Freeze:
Once you’ve made the filling, transfer to a 9x13 pan.
Place the pie crust on top of the filling.
Wrap with saran wrap and then foil. Add to freezer!
Cooking instructions: Thaw and bake at 375 degrees for about 30-40 min until golden brown.
2024 Thawgust Recipes
Easy Homemade Meatballs by Budget Bytes
Sausage Egg & Cheese Breakfast Casserole by Bake with Love
Poppy Seed Chicken by Plain Chicken
Classic Chicken Pot Pie by Pillsbury
Easy Baked Ziti by The Pioneer Woman